Photovoltaics are increasingly popular, this is noticeable both in our environment and in the awareness of investors. More and more people are asking, thinking about this solution, soon the restictive EU directives will take effect, and automobile companies will start large-scale production of cars on electricity. This is gratifying in the current era of smog. We should invest in clean, green energy, because it is in the interest of all of us.
We have already written about Photovoltaics in one post: Photovoltaics in 2023. After 4 years of use There we briefly described how everything looks in theory. How you can arrange a subsidy, about the cost and what elements are important from the point of view of the project.
Currently, the photovoltaic system has been installed for more than two months. Everything plugged in, ready for operation, but to make it not so beautiful, we have to wait for the paperwork…. We are waiting to replace the meter from the energy supplier with a two-way meter, in accordance with the prosumer law. Fortunately, there are not too many sunny days at the moment, so the loss is also small.
Parameters
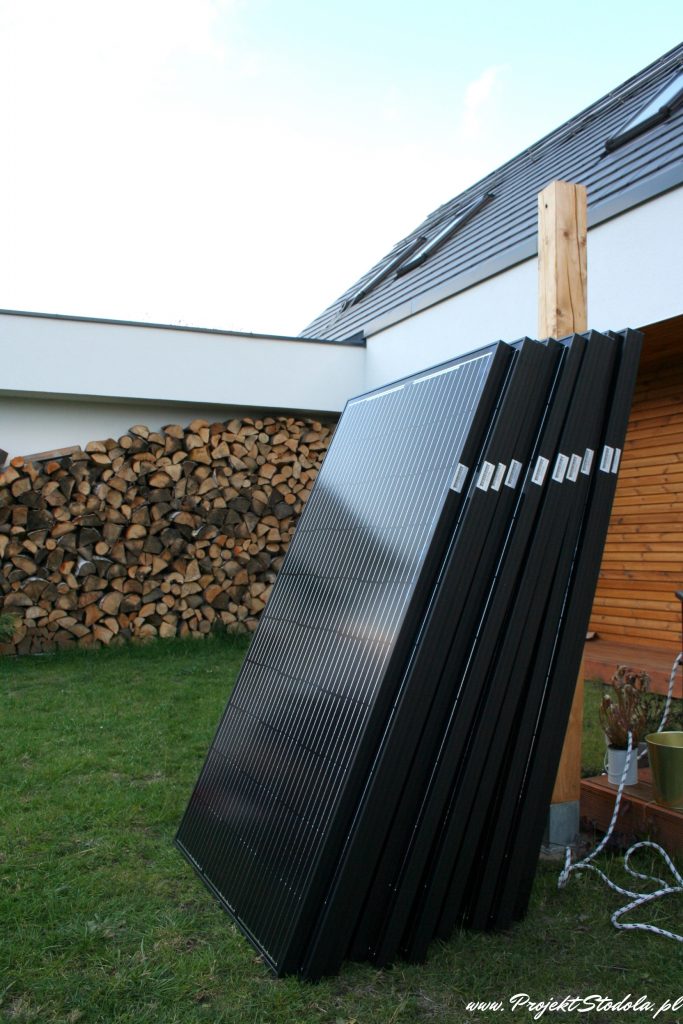
AleoX79 panels are waiting to be installed on the roof
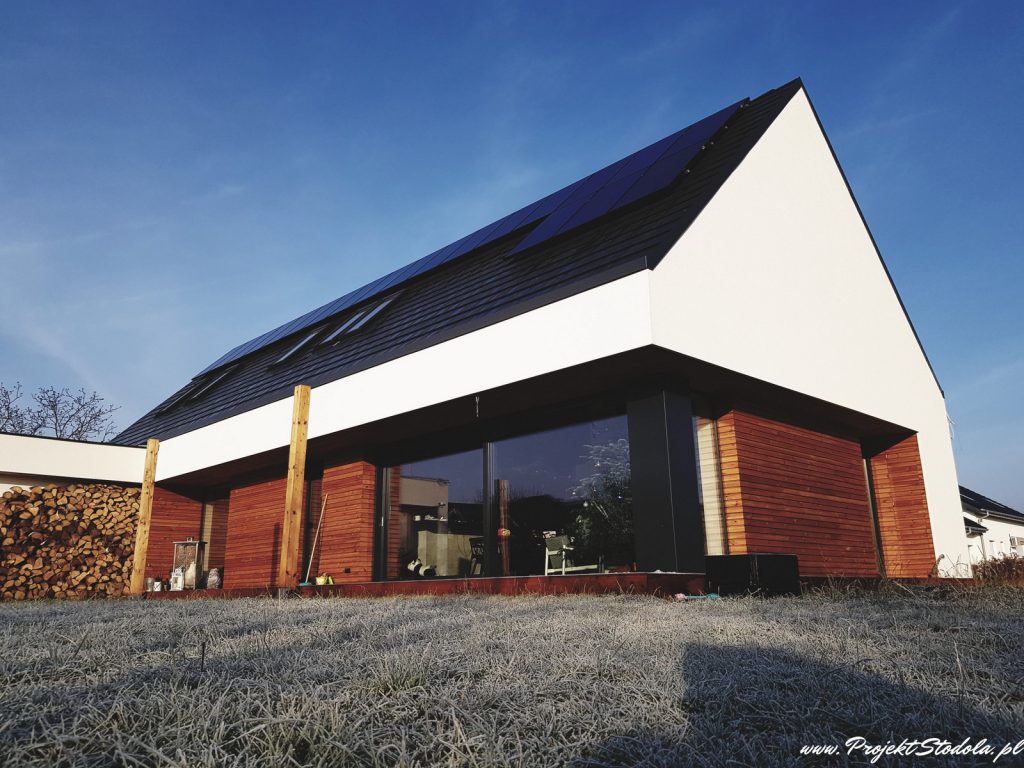
On the roof we designed 20 panels giving a total power of 6 kW. In the end, Aleox79 panels were installed in black version, that is, all black. We fought a lot for this black, we know that the ones ordered originally were standard-with a gray/silver frame. But I guess you already know us a little and know that in addition to functionality, aesthetics is also of great importance to us 😉 So we did not let go….
The panels on the roof look great. A single panel weighs 19 kg, which gives a load of about 14 kg/m2 with mounting elements. With current technologies, the construction of new buildings should have no problems carrying such loads. Of course, it is best to confirm this with the structural designer.
Installation of photovoltaics
Removal of roof tiles and preparation for installation of hooks
The installation of the photovoltaics was relatively quick and trouble-free. It took only 2 days, probably would have been 1 day, because the problem was the lack of light – too short a November day and a shielded installation team. The inverter was placed in the garage, against the wall behind which the electrical switchboard was directly located. At the construction stage, we prepared a special conduit in the wall, just for the photovoltaics. During installation, it was enough to cut a hole in the thermal insulation in the garage, find the conduit and enter the cable inside the switchgear.
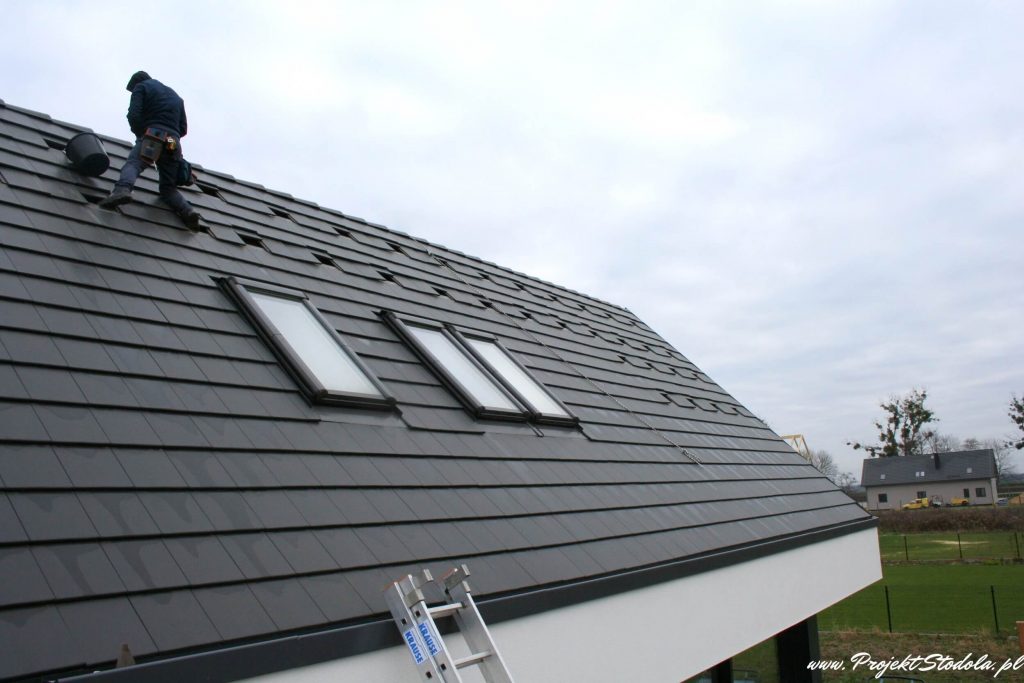
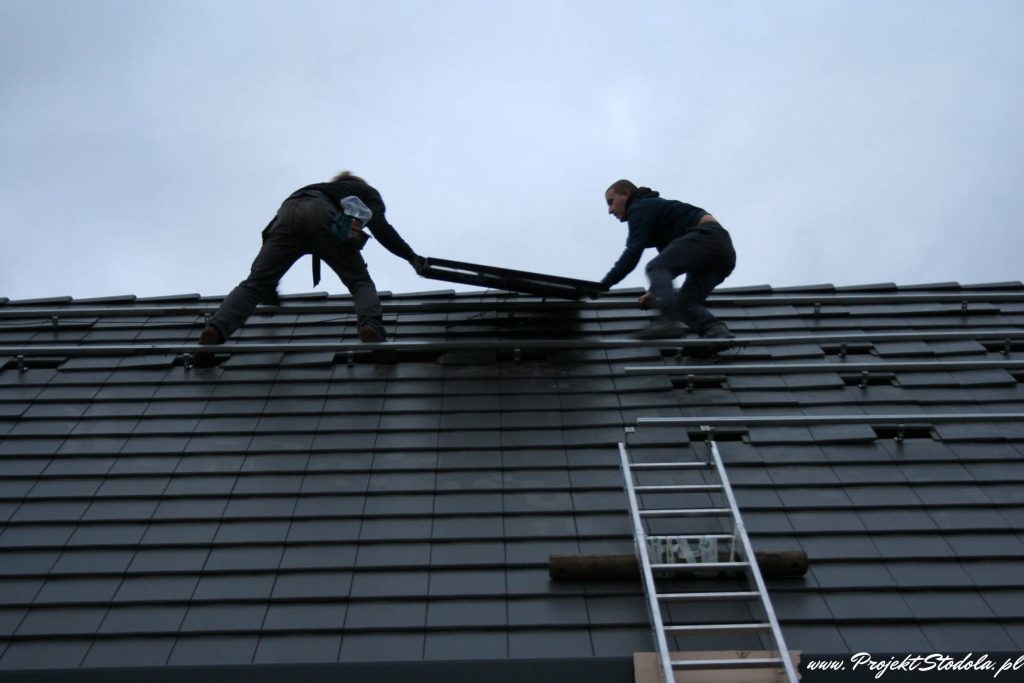 Mounting the panels on mounting rails, health and safety is key 🙂
Since we did not have a lightning protection system, we made a grounding by driving a 3 m pin into the ground and connecting to the fence reinforcement. For photovoltaics, grounding with resistance <10 ohm was required.
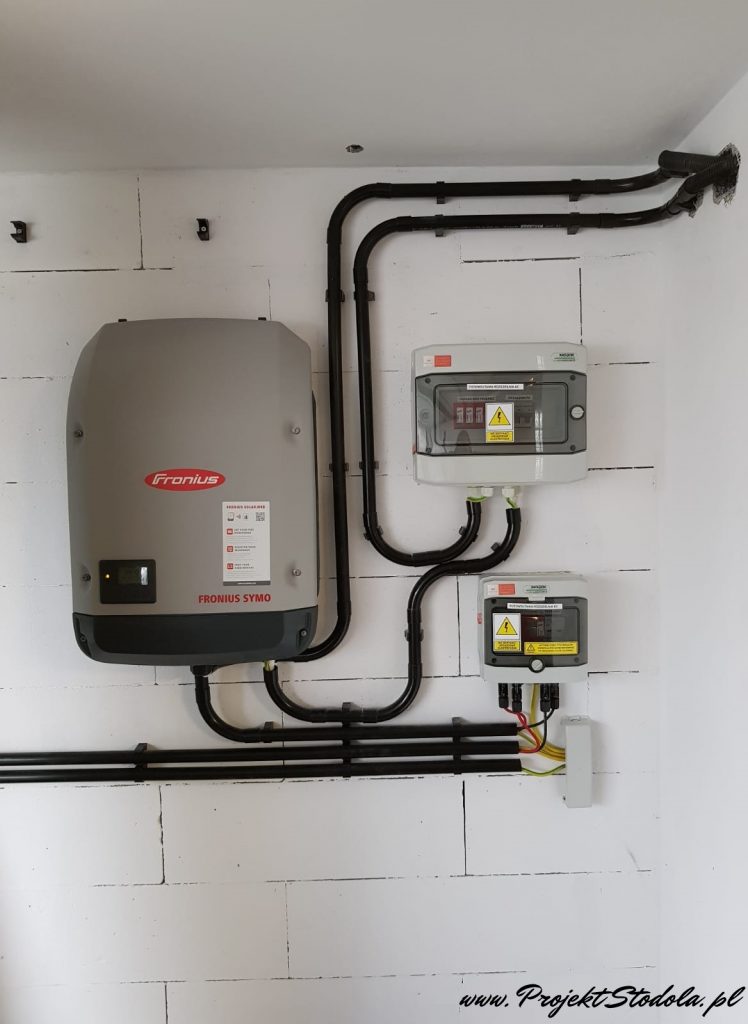 Complete installation in the building. Inverter and protection, the cable from the panels connects to the inverter then enters the switchgear located on the other side of the wall
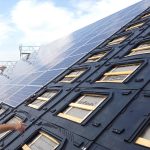
Installation of photovoltaic panels begins with the removal of roof tiles and installation of brackets in these places with screws to the main roof structure, that is, rafters. Longitudinal rail profiles, with grooves, are screwed to the attached brackets. Photovoltaic panels are mounted to the mounting rails through angle brackets, so-called clamps.
- Mounting hook, attaches to rafters
- Mounted hooks and mounting rails
- Barn during installation of panels
All components in contact with the panel are made of aluminum to exclude corrosion.
System monitoring and cooperation with heat pump
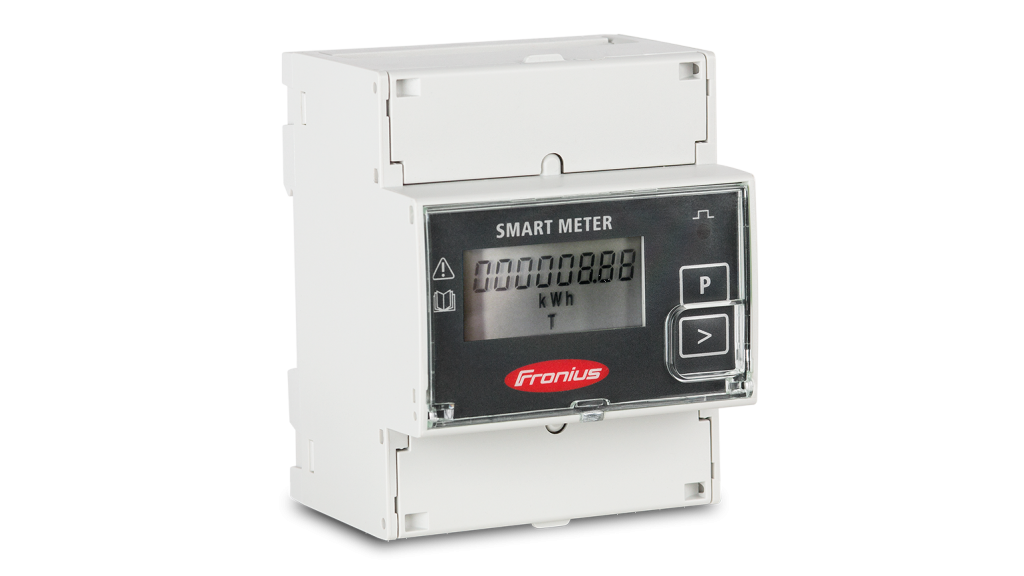
Fronius Smart meter current consumption meter (source: fronius.com)
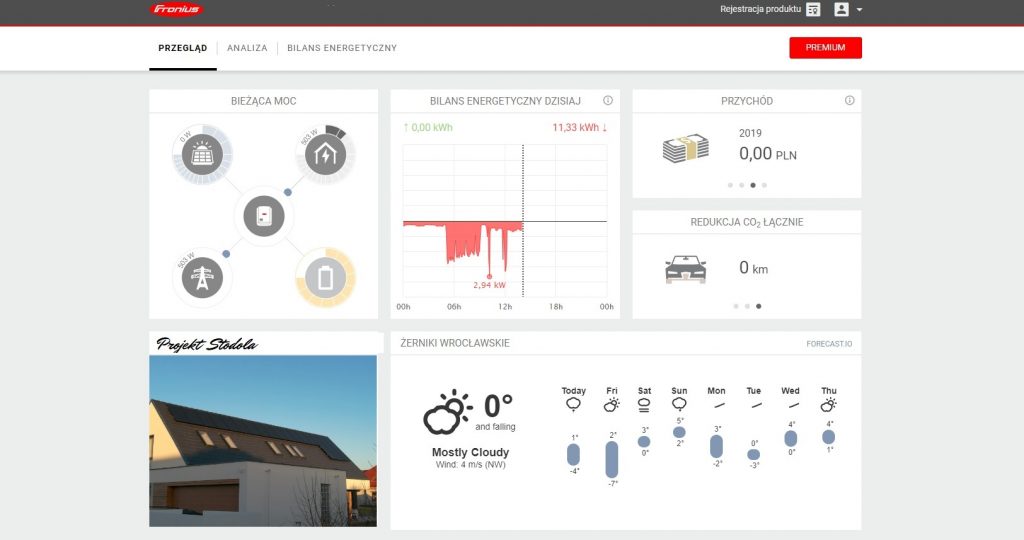
For educational and learning purposes, we additionally installed a Fronius Smart Meter energy meter. It allows us to track the current consumption of the building and the yield of the photovoltaic installation via the Solar web application. Monitoring the photovoltaic installation allows more efficient use of solar energy. At the time of high production of electricity, it is best to consume it in equal measure, then we do not lose 20% according to the Prosumec Law for transmission.
Solar web application, does not yet generate any values other than current energy consumption from the grid
We will use the monitoring for one more purpose – to share the efficiency of the installation with you in real time. You will be able to judge for yourself if it is worth it?
The second interesting possibility is the cooperation with the Mitsubishi heat pump. The cooperation is to consume as much energy as possible during the production period and give as little as possible back to the grid. This works so that when electricity is produced, a signal is sent to the heat pump to, for example, heat the domestic water in the tank.
Roof-integrated photovoltaic modules
For lovers of minimalism and beautiful aesthetics, there is a very interesting option on the market when planning a photovoltaic installation already at the design stage. There is the possibility of installing panels instead of roofing is the so-called built-in system. This allows us to design a clean uniform roof plane that is also our small power plant. The only disadvantage is worse ventilation and therefore slightly worse efficiency as seen in the graph below.
The big advantage, on the other hand, is the savings on the cost of roof tiles and installation, and the PV looks like an integral part of the roof. The system, by the way, is installed in a similar manner to the installation of standard roof tiles. In turn, installers can complete such an installation quickly, enabling the homeowner to achieve energy independence and a sophisticated roof appearance.
- panels in the embedded system form a uniform plane (www.gseintegration.com)
- embedded system substructure (www.gseintegration.com)
- impact of mounting and ventilation space on panel yields
Effect
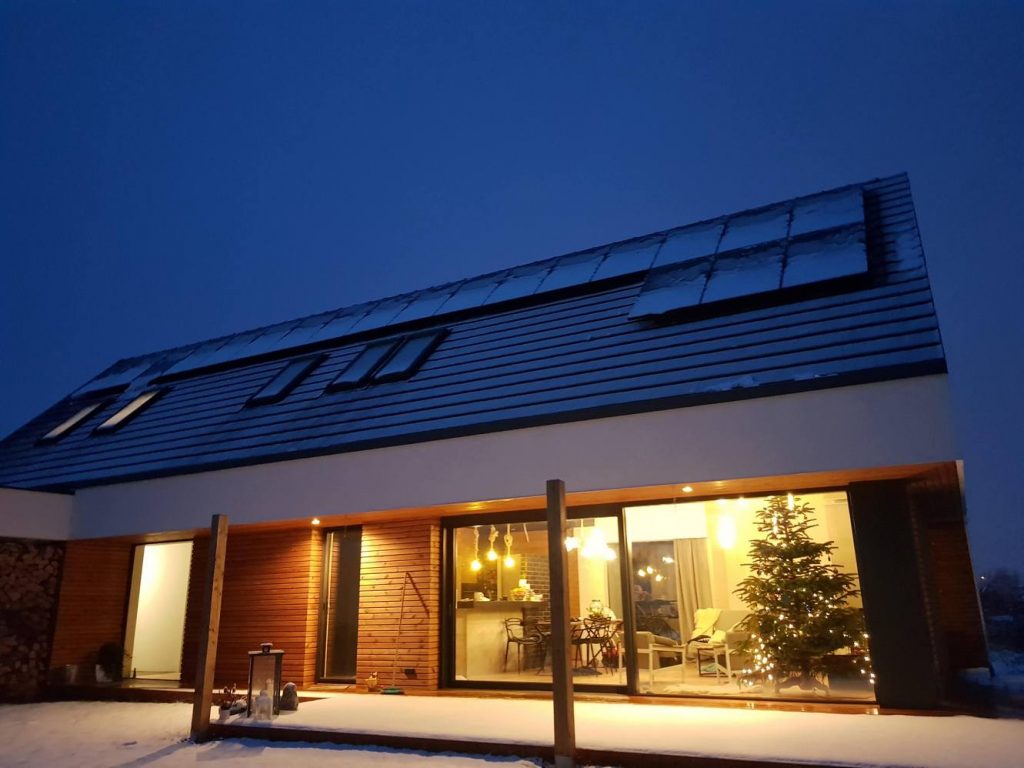
This is what the installed photovoltaic panels look like in a festive aura.
Finally, we’ll let you in on a little secret, we announced the Barn S project some time ago, we’re currently finishing (in fact, we’re FINALLY finishing 🙂 this project, it will be a very simple one-story building with easy expansion possibilities. Barn S will be geared largely just for photovoltaics, it will have a large, simple roof to accommodate up to 33 panels. The premiere will be later in January.
Keywords: photovoltaic; photovoltaic installation; photovoltaic how it works; solar panels; photovoltaic panels; green energy; barn house; barn design; blog; home building blog; barn house; modern barn block; barn blog; barn design; energy-efficient house; barn; heat pump; air source heat pump 2018; bill-free house, self-sufficient house;








Leave a Reply